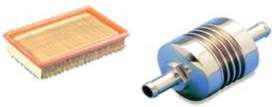
- New microfilter
- Screw drivers
1. Remove the glove box.
2. Remove carpeted trim panels and panel above glove box.
3. Remove the two screws holding the ventilation duct. Remove
the duct.
4. You have to remove one A/C probe and loosen another and
use a little torx wrench.
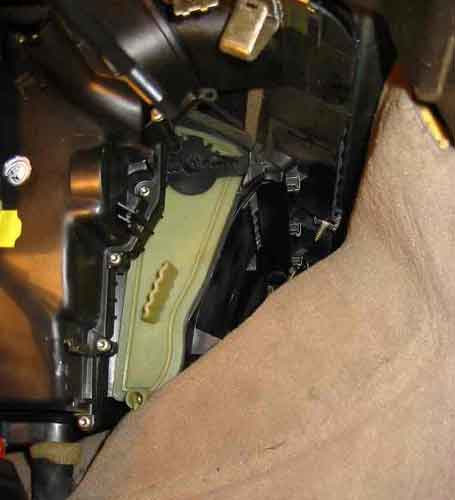
5. The green thing is the cover for the microfilter. The black
slab is an A\C control unit which was loosened but not removed.
The hole in the cover is where another A\C control unit was
unplugged and removed.
6. There is a knob at the top and a screw at the bottom, the
same size torque screw that is holding other parts together
in that area. Once removed the filter is recessed at the back.
7. Installation is the reverse of removal.
Procedure on a right hand drive model:
The filter is on the same side so the removal of the glove
box is not needed. All you need to do is to first remove the
under tray (three screws and 3 cam locks at the bulkhead)
and then remove the carpet followed by the footwell airduct.
The procedure is then exactly as stated from the removal of
the screw hole for the carpet trim and sword.
Richard Redding details that for r/h drive cars the
pedals hinder easy access.
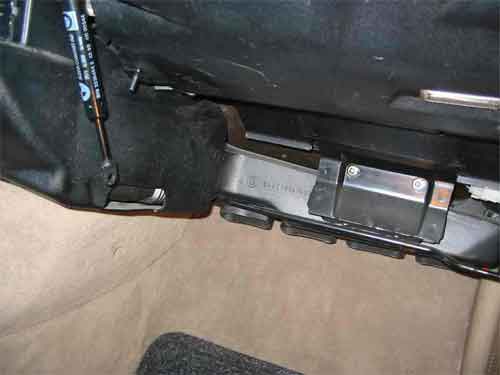
The grey bracket on bottom of the main a/c housing ( can be
seen on your photo) slides out of its housing to make access
to the bottom torx screw easier.
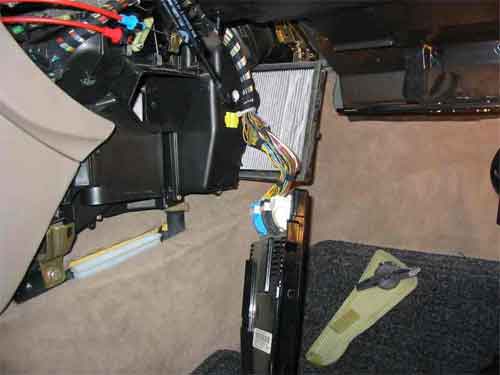
My car had a control card situated between the filter housing
and the bulkhead. This is easily unclipped and moved our of
the way , with wires attached. Otherwise it hinders access
to the filter cover.
The filter came out in two parts. The new filter looks like
one part but is split longitudinally. To put the new filter
in it is best separated longitudinally and the top section
put in first and then the lower section slides into the top
part. It is a tight fit with the clutch pedal in the way.
The job was quite tricky for a first timer and judging by
the state of the filter that came out and the rubbish in the
housing a job that even dealers avoid unless they have to!
Thanks to Trevor White, Chris Jones &
Gary Millette

|