|
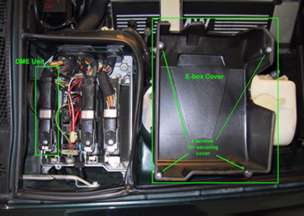
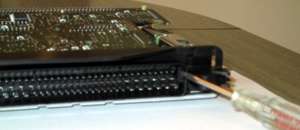
6) DME Unit removed. To remove the DME chassis cover,
remove the (4) #20 Torx screws securing the DME cover to the
DME chassis. Next you need to lift outward on the white pin
on bottom of DME chassis
to unlock the mounting pin in the center of upper DME board.
6b) On certain model (like the 535i) the DME cover is held
by tabs that need to be pried out.
|
|
 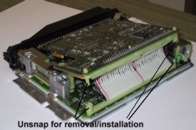
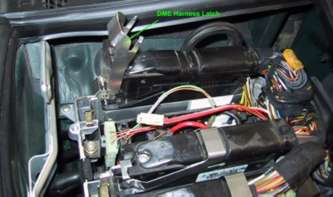
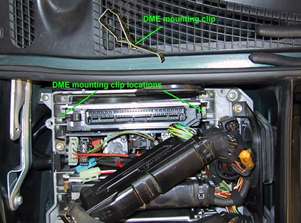
7) Lift upper DME board away from DME chassis
In the 540i, there are a few snapping mounts that will disengage
during this part of the procedure. a- one center pin mount.
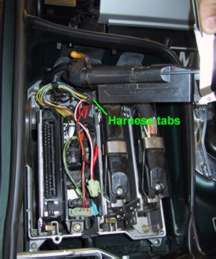
b- two tabs on DME harness (note - these can be released
with either a screwdriver or the like to lightly pry tabs
inward). c-two outer mounts (picture in the right). The upper
DME board is now
free to slide out / away from the DME harness
7b) Nothing to do for the other model because there is only
one board.
|
|
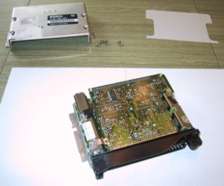
540i DME (two boards)
|
535i DME (one board)
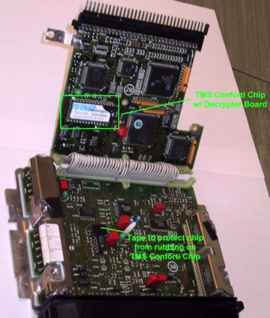
8) You may now lift / pivot the upper board away from
the DME chassis to expose the chip location that will be involved
with the chip swap.
8b) Nothing to lift on the other model.
|
|
14) Stock chip removal: the white or black stock chip
cover will need to be removed first, this is done by inserting
a narrow screwdriver into one of the pry slots on the chip
cover and prying to release the cover from the chip (note
- cover cannot be installed when performance chip utilizes
a decryptor board)
Next - make note of the orientation of the stock chip in the
socket, which end the notch in the chip is towards.
The new chip will need to be installed in this orientation.
To pry the chip out, insert a small narrow screwdriver under
the stock chip at one end and pry up slightly - repeat on
other end of chip and repeat back and forth until chip is
unseated from the socket. Do this in very small amounts
of lift to ensure that chip
is removed from socket without bending the pins.
Installation of the chip is quite easy. Assure that
the tab/notch on the chip you are installing is in at the
same end as the stock chip was. Gently press the chip
into the socket - assure the the chip is fully seated into
the socket.
|
|
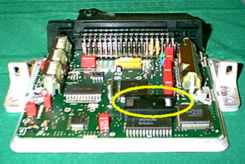
15) On the 530i/540i, since the decryptor
board was used in this application - the chip was too
tall and the aluminum case needed to be lifted slightly away
from the top DME board to prevent excessive rubbing between
the TMS Conforti chip and another IC on the lower DME board
I chose to clip a
washer in half and shim the case up a bit on the rear
two DME cover chassis mounting points to give the upper DME
board more room inside the
case so that the chips (TMS Conforti chip on upper DME
board and an IC on lower DME board) were not rubbing.
I secured the washer/shim with electrical tape. These
pictures were taken after two months of running with this
setup and no excessive rubbing/wear was noticed on the conflicting
chips (TMS Conforti chip on upper DME board and an IC on lower
DME board).
|
Important: Start the car and let it run
for at least 1 min for the computer to reset.
If the car starts, everything is fine, if not... you may
have a bent pin or the wrong chip and/or fried your computer...
Arg!
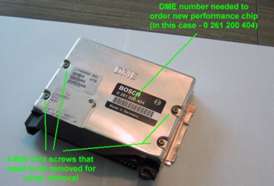
You may want to call and double check that you have the right
chip prior to change it (tell them the last 3 digits on the
bosch
sticker located on the computer 400, 401,402 or 403)
|
Thanks to Hans L. and Denis
Painchaud 
|